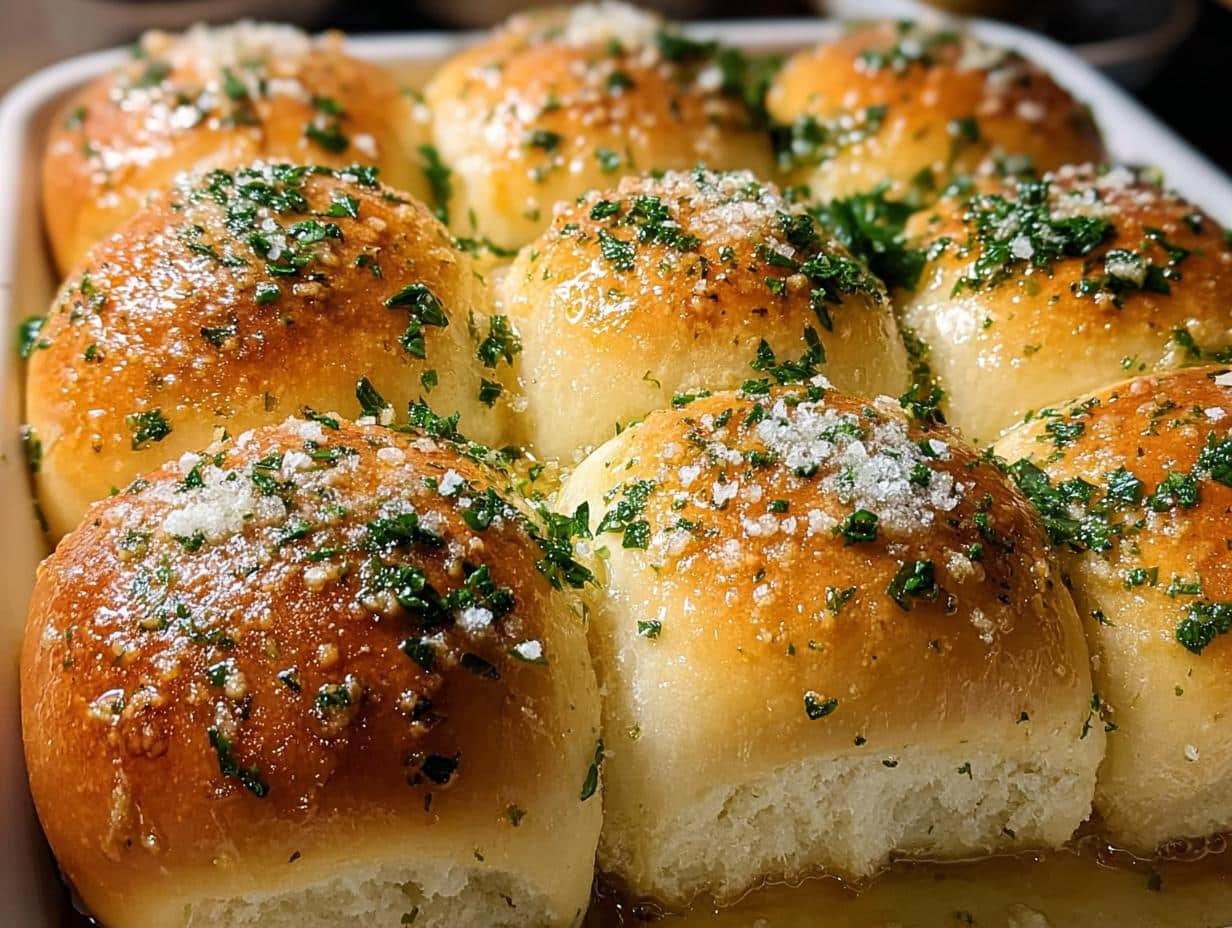
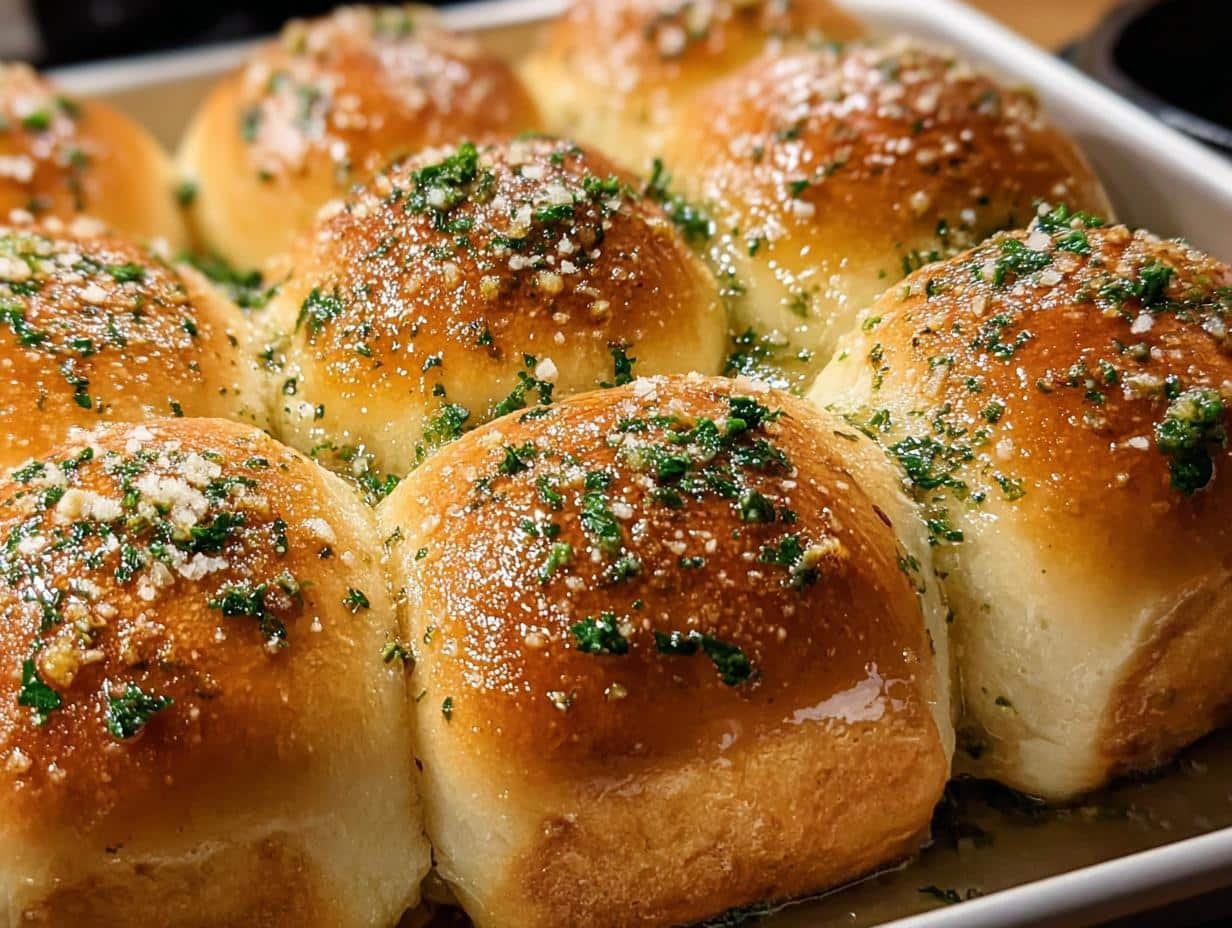
Garlic bread rolls have a magical way of transforming any meal into something special. I still remember the first time I successfully made these homemade garlic bread rolls from scratch; the aroma that filled my kitchen was absolutely intoxicating! My kids came running from upstairs, drawn by the warm, buttery, garlicky scent. These aren’t just any rolls; they’re incredibly soft, pillowy, and bursting with flavor. If you’re looking for an easy garlic bread rolls recipe that will impress everyone, you’ve found it. Get ready to fill your home with an irresistible fragrance and create a new family favorite. Let’s get cooking!
Why You’ll Love These Garlic Bread Rolls
- Incredibly soft and buttery texture that melts in your mouth.
- The perfect balance of garlic and butter makes these garlic butter rolls irresistible.
- Super quick prep time means you can whip up fresh rolls anytime.
- Budget-friendly, using common pantry staples for a delicious treat.
- A guaranteed crowd-pleaser for family dinners and gatherings.
- They boast a wonderful savory flavor, making them the best garlic butter rolls you’ll ever taste.
- Homemade goodness without the fuss, perfect for beginners.
- A delightful side dish that complements almost any meal.
Ingredients for Garlic Bread Rolls
Gathering these simple ingredients is the first step to baking your own amazing garlic bread rolls. The dough requires basic pantry staples, while the garlic butter topping is where all the magic happens. We’ll use warm milk and yeast to create a lovely rise, while flour and salt form the dough’s structure. For that irresistible flavor, we’re talking about plenty of butter, fresh garlic, and parsley. You’ll find these ingredients are pretty standard, making it easy to whip up a batch of homemade garlic bread rolls whenever the craving strikes. Think of these as the perfect base, and you can even customize them for delicious garlic parmesan bread rolls by adding some grated cheese!
- 1 cup whole or 2% milk, warmed – essential for activating the yeast and creating a tender crumb
- 1 tbsp granulated sugar – feeds the yeast to help the dough rise
- 2.25 tsp instant yeast – for a speedy and reliable rise
- 1 large egg – adds richness and helps bind the dough
- 2 tbsp unsalted butter, melted – for tenderness in the dough
- 3.56 cups all-purpose flour – the backbone of our rolls
- 1 tsp fine sea salt – enhances flavor and controls yeast activity
- For the Garlic Butter Finish:
- 4.5 tbsp unsalted butter, melted – the star of the show for that buttery coating
- 3 tbsp fresh garlic, minced – for that classic, pungent garlic flavor
- 4 tbsp fresh parsley, chopped – adds a burst of freshness and color
- Flaky sea salt, for finishing (optional) – for a delightful crunch and pop of saltiness
- For the Egg Wash:
- 1 egg – creates a beautiful golden-brown crust
- 1 tbsp water or milk – thins the egg wash for easy brushing
How to Make Garlic Bread Rolls
Making these amazing garlic bread rolls from scratch is easier than you think! The process is straightforward, and the result is incredibly rewarding. You’ll be filling your kitchen with the most wonderful aromas as these bake.
- Step 1: Start by preheating your oven to 375°F (190°C). While the oven heats up, prepare your baking pan by greasing a 9×13 inch pan or lining a baking sheet with parchment paper. This ensures your rolls won’t stick.
- Step 2: In a large mixing bowl, warm the milk to between 105-115°F (40-46°C). Stir in the granulated sugar and the instant yeast. Let this mixture sit for about 5 minutes until it looks a little foamy – that means your yeast is happy and ready to work!
- Step 3: Add the egg and the 2 tablespoons of melted butter to the yeast mixture. Give it a quick whisk.
- Step 4: In a separate bowl, combine the flour and the fine sea salt. Gradually add these dry ingredients to the wet ingredients, mixing until a shaggy dough forms.
- Step 5: Now it’s time to knead! Knead the dough for 6-8 minutes by hand on a lightly floured surface, or use a stand mixer with a dough hook for 5-7 minutes. You want the dough to become smooth and elastic, like a soft earlobe.
- Step 6: Lightly grease a clean bowl. Place the kneaded dough into the bowl, turning it to coat lightly. Cover the bowl with plastic wrap or a clean kitchen towel, and let it rise in a warm spot for 1 to 1.5 hours, or until it has doubled in size.
- Step 7: While the dough is rising, let’s make that delicious garlic butter finish. Melt the remaining 4.5 tablespoons of butter in a small saucepan or microwave-safe bowl. Stir in the minced garlic and chopped parsley. Set this flavorful mixture aside.
- Step 8: Once the dough has doubled, gently punch it down to release the air. Divide the dough into 12-16 equal portions. Shape each portion into a smooth ball. Arrange the dough balls in your prepared pan or baking sheet, spacing them about an inch apart.
- Step 9: Loosely cover the shaped rolls and let them rise again in a warm spot for another 30-45 minutes. They should look puffy and have increased in size. This second rise is key for light and airy rolls.
- Step 10: Preheat your oven to 375°F (190°C) if you haven’t already. In a small bowl, whisk together the egg and the tablespoon of water or milk for the egg wash. Brush this mixture gently over the tops of the puffy rolls. This will give them a gorgeous golden crust when you bake garlic bread rolls.
- Step 11: Bake the rolls for 18-25 minutes, or until they are beautifully golden brown and sound hollow when tapped. The smell will be absolutely amazing as you bake garlic bread rolls!
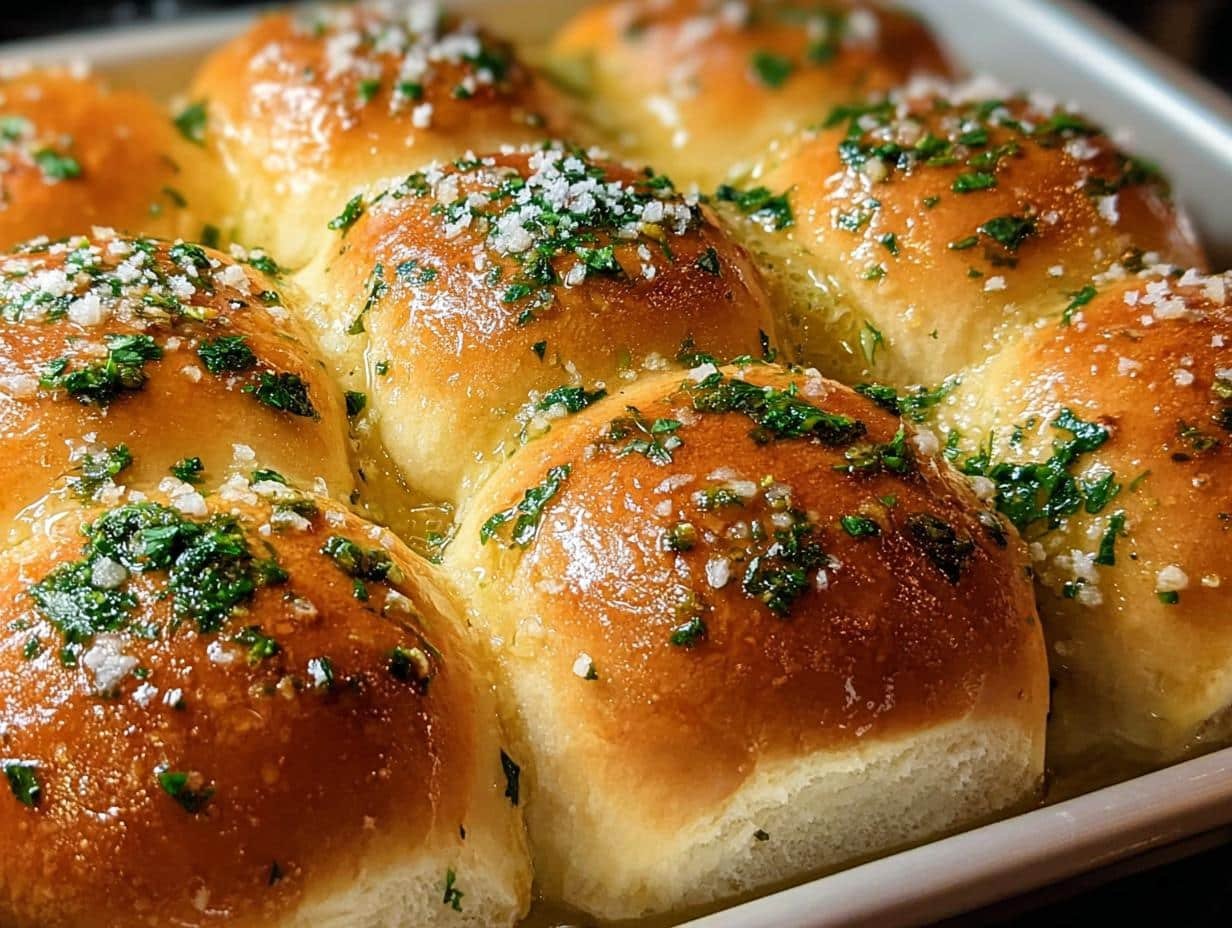
- Step 12: As soon as the rolls come out of the oven, generously brush them with the prepared garlic-parsley butter mixture. If you like, sprinkle a little flaky sea salt over the top for an extra bit of texture and flavor. Let them cool for a few minutes before serving, but honestly, they are best enjoyed warm! These garlic bread rolls are perfect for dinner tonight.
Pro Tips for the Best Garlic Bread Rolls
I’ve learned a few tricks over the years to ensure my garlic bread rolls turn out perfectly every time. These tips will elevate your homemade rolls from good to absolutely amazing, making them incredibly soft and flavorful.
- Always use warm milk, not hot, to activate the yeast properly. Too hot and you’ll kill it, too cold and it won’t get going.
- Don’t over-flour the dough. It should be slightly sticky before kneading. Adding too much flour is the quickest way to tough, dry rolls.
- Let the dough rise in a warm, draft-free spot. An oven with just the light on is often perfect.
- Brush the garlic butter on the rolls *immediately* after they come out of the oven. The heat helps them absorb all that delicious flavor.
What’s the secret to perfect garlic bread rolls?
The real secret is the combination of a well-developed dough and that generous garlic butter finish. Using warm milk and letting the dough rise properly creates those wonderfully soft garlic bread rolls. Don’t skip brushing the butter on while they’re hot!
Can I make garlic bread rolls ahead of time?
Yes, you absolutely can! You can shape the dough balls and place them in the baking pan up to 24 hours in advance. Cover them tightly and refrigerate. When you’re ready to bake, let them sit at room temperature for about 30 minutes to warm up, then proceed with the egg wash and baking.
How do I avoid common mistakes with garlic bread rolls?
The most common mistakes are using inactive yeast or over-flouring the dough. Make sure your yeast is fresh and that the milk is the correct temperature. Resist the urge to add extra flour while kneading; a slightly sticky dough yields tender rolls.
Best Ways to Serve Garlic Bread Rolls
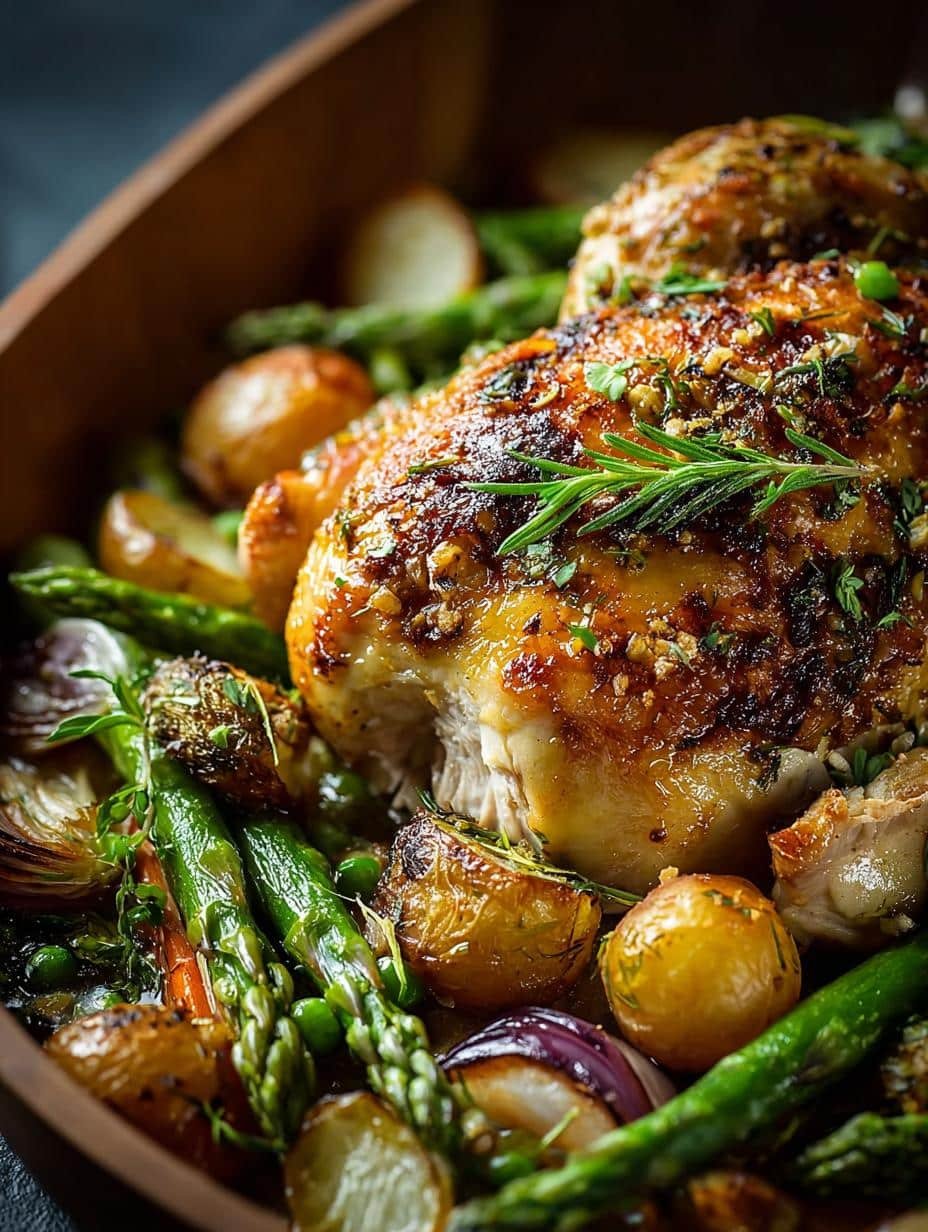
These amazing garlic bread rolls are so versatile and truly elevate any meal. They are absolutely perfect as a side dish for pasta nights, like spaghetti bolognese or creamy fettuccine alfredo. The rich garlic and butter flavors complement tomato-based sauces beautifully. They also make a fantastic accompaniment to hearty soups and stews, soaking up every last bit of broth. For a complete meal, serve them alongside roasted chicken or a savory steak. Honestly, these rolls are so delicious, you might just find yourself making them a staple for garlic bread rolls for dinner!
Nutrition Facts for Garlic Bread Rolls
Understanding the nutritional breakdown can help you enjoy these delicious garlic bread rolls as part of a balanced diet. Each roll offers a satisfying taste with a moderate amount of calories and key macronutrients.
- Serving Size: 1 roll
- Calories: Approximately 150-200 kcal
- Fat: Approximately 7-10g
- Saturated Fat: Approximately 4-6g
- Protein: Approximately 4-5g
- Carbohydrates: Approximately 20-25g
- Fiber: Approximately 1-2g
- Sugar: Approximately 3-5g
- Sodium: Approximately 150-250mg
Nutritional values are estimates and may vary based on specific ingredients used.
How to Store and Reheat Garlic Bread Rolls
Keeping your delicious garlic bread rolls fresh is super easy, whether you have leftovers or want to prepare them ahead for another day. Once they’ve cooled completely on a wire rack (this is important to prevent sogginess!), store them in an airtight container or a resealable plastic bag at room temperature. They should stay wonderfully soft and flavorful for about 3 to 4 days. If you want to keep a batch for longer, freezing is your best bet! Wrap individual rolls tightly in plastic wrap, then place them in a freezer-safe bag. Properly stored, these homemade garlic bread rolls can last for up to 3 months. For reheating, you can warm them gently in a 350°F (175°C) oven for about 5-10 minutes, or wrap them in foil for a softer warmth. A quick zap in the microwave also works in a pinch, though they might lose a bit of their crispness.
Frequently Asked Questions About Garlic Bread Rolls
Where can I find the best garlic bread rolls recipe?
You’ve found it right here! This recipe is designed to be straightforward and yield incredibly delicious results, perfect for anyone looking to make homemade garlic bread rolls. It’s truly the best way to get that perfect soft texture and buttery garlic flavor.
Can I make the dough for these garlic bread rolls ahead of time?
Absolutely! You can prepare the dough, let it do its first rise, punch it down, and then shape it into balls. Place them in your baking pan, cover tightly, and refrigerate overnight. Just let them sit at room temperature for about 30 minutes before baking to take the chill off, and they’ll be ready to go.
What makes these garlic bread rolls so soft?
The secret to these wonderfully soft rolls lies in a few key things: using milk in the dough adds richness and tenderness, the melted butter in the dough contributes to softness, and not over-flouring is crucial. Plus, brushing them with the garlic butter immediately after baking locks in moisture and flavor, ensuring you get perfect garlic bread rolls every time.
Are these garlic bread rolls good for a large dinner party?
Definitely! This garlic bread rolls recipe yields 12-16 rolls, and they are always a huge hit. They’re budget-friendly to make in large batches and are a universally loved side dish that complements almost any meal, from roasts to pasta.
Variations of Garlic Bread Rolls You Can Try
Once you’ve mastered the basic recipe for these amazing garlic bread rolls, don’t be afraid to get creative! There are so many delicious ways to customize them. For a cheesy twist, try adding about 1/2 cup of grated Parmesan cheese to the garlic butter mixture, transforming them into irresistible garlic parmesan bread rolls. You could also sprinkle some cheese over the tops before baking. If you’re looking for a gluten-free version, you can experiment with a good quality gluten-free all-purpose flour blend, though you might need to adjust the liquid slightly. For a bit of heat, a pinch of red pepper flakes in the garlic butter is fantastic. These variations are great for experimenting with different flavors and dietary needs!

Amazing Garlic Bread Rolls: 12 Servings
- Total Time: 2 hours 15 minutes
- Yield: 12-16 rolls 1x
- Diet: Vegetarian
Description
Learn how to make incredibly soft and buttery homemade garlic bread rolls from scratch. This easy recipe is perfect for filling your kitchen with a delicious aroma and impressing your family and friends.
Ingredients
- For the Dough:
- 1 cup whole or 2% milk, warmed
- 1 tbsp granulated sugar
- 2.25 tsp instant yeast
- 1 large egg
- 2 tbsp unsalted butter, melted
- 3.56 cups all-purpose flour
- 1 tsp fine sea salt
- For the Garlic Butter Finish:
- 4.5 tbsp unsalted butter, melted
- 3 tbsp fresh garlic, minced
- 4 tbsp fresh parsley, chopped
- Flaky sea salt, for finishing (optional)
- For the Egg Wash:
- 1 egg
- 1 tbsp water or milk
Instructions
- In a large mixing bowl, warm the milk to 105-115°F (40-46°C). Stir in the granulated sugar and instant yeast.
- Add the egg and 2 tablespoons of melted butter to the milk mixture. Whisk briefly.
- In a separate bowl, combine the flour and fine sea salt. Gradually add the dry ingredients to the wet ingredients, mixing until a shaggy dough forms.
- Knead the dough for 6-8 minutes by hand or 5-7 minutes in a stand mixer until smooth and elastic.
- Lightly grease a clean bowl. Place the dough in the bowl, cover, and let it rise in a warm spot for 1 to 1.5 hours, until doubled in size.
- While the dough rises, melt the remaining butter. Stir in the minced garlic and chopped parsley. Set aside.
- Punch down the risen dough. Divide it into 12-16 equal portions and shape each into a smooth ball. Arrange the rolls in a greased 9×13 inch pan or on a parchment-lined baking sheet.
- Cover the rolls loosely and let them rise again in a warm spot for 30-45 minutes, until puffy.
- Preheat your oven to 375°F (190°C). Whisk the egg for the egg wash with water or milk. Brush the tops of the rolls with the egg wash.
- Bake for 18-25 minutes, or until golden brown.
- Immediately brush the hot rolls with the garlic-parsley butter mixture. Sprinkle with flaky sea salt, if desired. Let cool for a few minutes before serving.
Notes
- For best results, use fresh garlic and parsley.
- Ensure your yeast is active for proper rising.
- Avoid adding too much flour, as this can make the rolls tough.
- A warm environment is crucial for dough rising.
- Do not over-proof the dough; rolls should be puffy, not excessively large.
- Dough can be prepared the day before; refrigerate after shaping and proof before baking.
- Store cooled rolls in an airtight container at room temperature for 2-3 days.
- Reheat in a foil-wrapped oven or briefly in the microwave.
- Rolls freeze well for up to 3 months.
- Prep Time: 20 minutes
- Cook Time: 25 minutes
- Category: Bread
- Method: Baking
- Cuisine: American
Nutrition
- Serving Size: 1 roll
- Calories: Approximately 150-200 kcal (estimated)
- Sugar: Approximately 3-5g (estimated)
- Sodium: Approximately 150-250mg (estimated)
- Fat: Approximately 7-10g (estimated)
- Saturated Fat: Approximately 4-6g (estimated)
- Unsaturated Fat: Approximately 3-4g (estimated)
- Trans Fat: 0g
- Carbohydrates: Approximately 20-25g (estimated)
- Fiber: Approximately 1-2g (estimated)
- Protein: Approximately 4-5g (estimated)
- Cholesterol: Approximately 20-30mg (estimated)

